


Top 15 Biggest Houses in the World in 2025
July 21, 2025
Top 20 Things to Check Before Buying a Flat or Old Home
July 22, 2025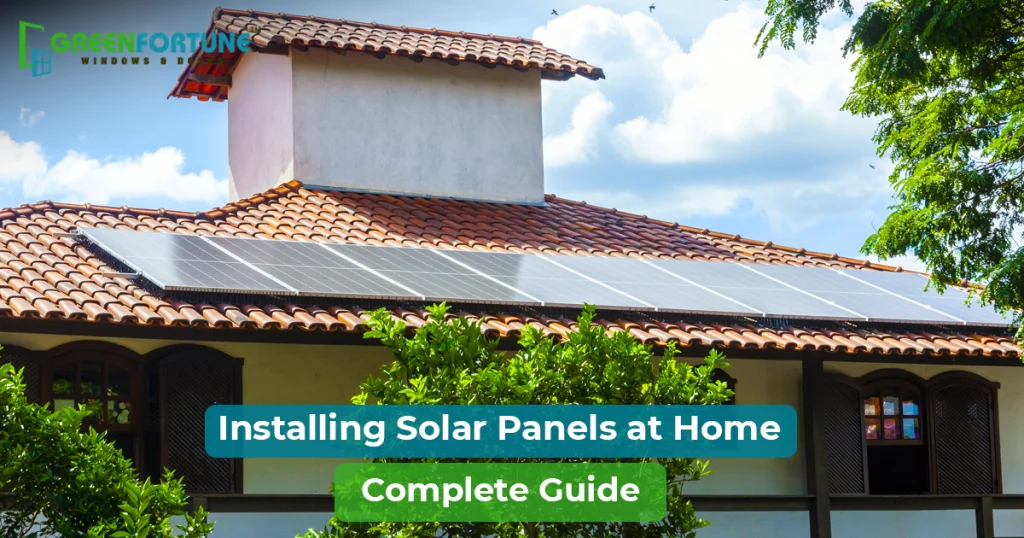
With rising electricity bills and growing environmental concerns, many homeowners are now preferring to use solar power. If you’ve been thinking about cutting down your energy costs and relying less on the traditional sources like the sun or fossil fuels, installing solar panels at home might be the perfect solution for you.
This blog breaks down the entire process in easy and simple steps to get started with using solar power. Whether you’re new to the idea of renewable energy or ready to make the switch, this blog offers all the installation tips and basics that you need.
Table of contents
- Why Should You Choose Solar Energy?
- Essential Steps to Install Solar Panels at Home
- 1: Understand Your Energy Requirements
- 2: Go through a Thorough Roof Inspection
- 3: Choose the Right Type of Solar System
- 4: Get Essential Permits and Apply for Benefits
- 5: Install the Mounting System
- 6: Mount the Panels
- 7: Set Up the Wiring and Inverter
- 8: Connect to the Grid and Install the Meter
- 9: Monitor and Maintain the System
- Conclusion
- GreenFortune - Your Premium Solution for uPVC Windows and Doors
- FAQs: Installing Solar Panels at Home
Why Should You Choose Solar Energy?
Switching to solar power comes with long-term advantages. Here’s why so many people are going for solar energy:
- Lower Electricity Bills: Save money every month.
- Eco-Friendly: Solar is a clean, renewable energy source.
- Home Value Increase: Solar boosts property value.
- Reliable Power: Less worry about outages or rising costs.
- Low Maintenance: Most solar panels last over 25 years.
Essential Steps to Install Solar Panels at Home

1: Understand Your Energy Requirements
Before you buy anything, understand your household’s power use:
- Look at your monthly electricity bill (check the kilowatt-hours or kWh)
- Decide if you want to power your whole home or just part of it
- Consider future changes like an electric vehicle or new appliances
This helps you to decide how many solar panels you need and what size system suits your home solar setup.
2: Go through a Thorough Roof Inspection
Before installing solar panels at home, you’ll need a solid base.
- South-facing roofs with a tilt between 25 - 45 degrees work best
- Remove any large branches or shade-causing objects.
- Ensure your roof is strong, dry, and in good repai.r
- Measure how much space is available for your solar panels
3: Choose the Right Type of Solar System
Not all solar setups are the same. Your choice depends on your location, budget, and goals.
- Grid-Tied: You use both solar and grid power
- Off-Grid: Fully independent, powered only by solar and batteries
- Hybrid: Combines solar with a backup battery and a grid supply
Panel types include monocrystalline, polycrystalline, and thin-film, each with pros and cons. Monocrystalline panels offer high efficiency and a cleaner look, which makes them a top choice for many home solar users.
4: Get Essential Permits and Apply for Benefits
Before beginning the actual work, get the correct paperwork in place:
- Apply for local building and electrical permits
- Talk to your local utility about grid connection.
- Check if your state offers rebates or tax credits
- Ask if your HOA has solar panel rules
There may be financial benefits for renewable energy users that help to reduce overall costs.
5: Install the Mounting System
This is the frame that holds your solar panels securely to the roof.
- Mark and drill holes into the roof rafters
- Attach brackets or rails using corrosion-resistant bolts.
- Seal the holes using flashing or roof sealant.
- Ensure everything is level and aligned correctly.
This part of installing solar panels at home ensures safety and long-term performance.
6: Mount the Panels
Now the visible part of your solar system is ready to go up.
- Carefully lift the solar panels onto the mounting rails.
- Fasten them securely using clips or brackets.
- Position them at the correct tilt and angle.
- Double-check for alignment, especially across rows.
Make sure that your panels are snug, as wind and weather can affect loose fittings.
7: Set Up the Wiring and Inverter
Now it is time to connect everything so the electricity flows smoothly.
- Connect panels to the inverter (or micro-inverters)
- Link wiring into the junction box and through the conduit
- Attach the inverter to your wall near your electric panel.
- Connect the inverter to your home’s breaker system.
- Add grounding for safety.
8: Connect to the Grid and Install the Meter
Once everything is wired, your utility company needs to approve the final connection.
- Install a net meter to track your solar input and grid use.
- Schedule an inspection with your power company.
- Sign any interconnection agreements.
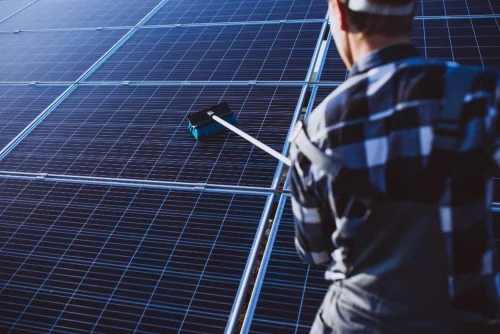
9: Monitor and Maintain the System
After installing solar panels at home, you want to keep everything running well:
- Monitor energy output through an app or an inverter screen
- Clean panels twice a year using soft water and a long-handled brush.
- Inspect for any dirt, leaves, or snow that blocks light.
- Keep wires and inverters free of wear or damage.
- Replace inverters every 10–15 years if needed.
Solar panels are very low-maintenance, but occasional checkups go a long way.
Read more - Best Materials for Construction for Your Dream House
Conclusion
Installing solar panels at home is more than just a smart financial move. It’s a step toward a more sustainable lifestyle and a healthier environment. Whether you’re drawn to renewable energy for the savings, the technology, or the environment, solar energy puts the power in your hands.
By following these clear installation tips, even beginners can understand the process from start to finish. From selecting your system and planning the layout to watching your panels generate clean energy, each step helps your home become more energy-efficient and future-ready.
Your journey to home solar energy doesn’t have to be complex. With this blog, you're ready to make wise choices, ask the right questions, and enjoy the rewards of solar panels that power your home for decades.
GreenFortune - Your Premium Solution for uPVC Windows and Doors
GreenFortune is your go-to partner for high-quality uPVC windows and doors designed with energy efficiency in mind. They offer lasting durability, comfort, and modern aesthetics to bring style into any home.
Whether you need replacement windows or are considering new construction, GreenFortune provides customized solutions that ensure exceptional value and long-term satisfaction for clients.
Choose GreenFortune today for innovative design and unmatched customer service. Get in touch with us now.

FAQs: Installing Solar Panels at Home
1. Is it expensive to install solar panels at home?
Prices vary based on system size and panel type, but many Indian homes can install systems between ₹2 to ₹5 lakhs. Government rebates can reduce the cost.
2. Can I install the panels myself?
DIY installation is possible with kits, but rooftop work and electrical wiring often require certified professionals and official approval.
3. How many panels do I need?
An average home uses 8 to 12 panels, depending on power use and sunlight availability. Your installer will calculate this for you.
4. Do solar panels work during cloudy weather or at night?
They still generate energy in cloudy conditions, just less of it. At night, you rely on stored energy or electricity from the grid.
5. How long do solar panels last?
Most panels last over 25 years. Inverters may need replacement sooner, but maintenance is minimal.