


Why Split-Level House Designs Are Dominating Modern Indian Architecture
June 26, 2025
Laminated Vs Non-Laminated uPVC Windows: Which One Should You Choose?
June 26, 2025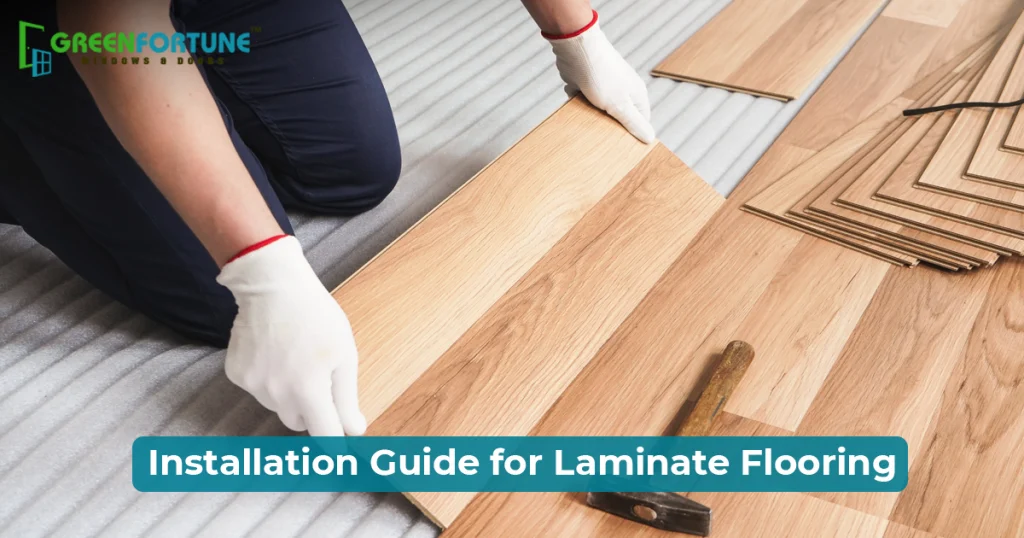
Laminate flooring is one of the most popular choices for homeowners looking for style, comfort, and affordability. It gives you the elegant look of wood or tile without the high price or difficult maintenance.
However, many people can install it themselves. With the right tools, a little planning, and this easy guide, you can confidently install laminate flooring on your own.
Whether you’re redoing a bedroom or giving your living room a brand-new look, this guide covers every step you need to know. Let’s walk through the full process to help you install laminate flooring smoothly and successfully.
Why Choose Laminate Flooring?
There are many good reasons why more and more homeowners are going for laminate flooring. Here are a few benefits:
- Affordable flooring: It costs much less than real wood or tile.
- Durable: Laminate resists scratches, stains, and dents.
- Low Maintenance: Just sweep and mop - no polish needed.
- DIY-Flooring: Many products feature click-lock systems that are easy to install.
- Stylish Options: Available in wood, tile, and stone designs to match any kind of decor.
Thanks to these features, laminate is often the first choice for people who want a home renovation without breaking the bank, and who want to install laminate flooring without hiring a professional.
Essential Steps for Installing Laminate Flooring
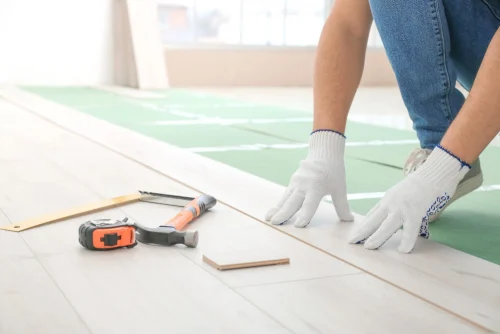
Step 1: Prepare the Room
The first step in the process of installing laminate flooring is clearing and cleaning the room.
- Move all furniture and rugs out of the space.
- Remove old flooring if needed.
- Take off baseboards and door trims carefully.
- Clean the subfloor and check for damage.
- Ensure the surface is level and dry.
Let your new laminate planks rest in the room for 48 hours before you install them. This allows them to adjust to the room’s temperature and humidity, which prevents buckling later.
Step 2: Lay Down Underlayment
Most laminate floors need an underlayment, which helps with sound, comfort, and moisture protection. Some planks have underlayment already attached - check before you buy.
- Roll out the underlayment over the subfloor.
- Do not overlap the edges.
- Tape the seams with underlayment tape.
- Trim the edges neatly along walls and corners.
If you are laying over concrete, you must first put down a moisture barrier to keep your floor safe from water damage.
Step 3: Plan the Layout
Smart planning prevents problems and saves you from awkward cuts.
- Measure the room’s width and divide by the plank width.
- Make sure the last row won’t be too narrow (less than 2 inches wide).
- Adjust the starting row if needed to balance both sides.
- Start laying the floor from the left-hand corner of the longest wall.
- Mix planks from different boxes to get a more natural look.
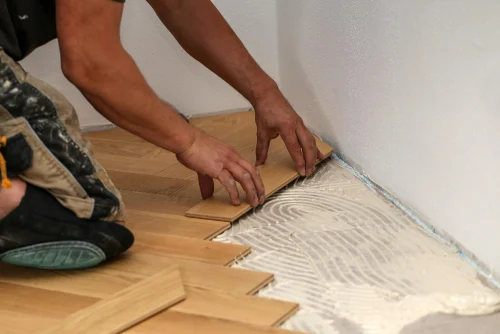
Step 4: Lay the First Row
Now it’s time to begin the fun part - laying the floor.
- Place spacers along the wall to allow for a 10 mm expansion gap.
- Put the first plank in place with the tongue side facing the wall.
- Connect the next plank end-to-end using the click-lock system.
- Cut the last plank in the row to fit as needed.
- Make sure the entire row is straight and tight.
Step 5: Add More Rows
Once the first row is in place, build out the floor one row at a time.
- Start the second row with a plank at least one-third shorter than the previous row’s starting plank.
- This staggered pattern looks better and adds strength.
- Angle the long edge of the plank into the one before it, then press down.
- Use the tapping block and mallet to lock joints tight.
- Use the pull bar for planks near walls.
Read more - Right Window Standard
Step 6: Make Special Cuts
Rooms often have corners, pipes, or doorways that require custom cuts.
- Measure the exact space where the plank will go.
- Mark and cut it with a jigsaw or handsaw.
- Sand rough edges for a cleaner finish.
- For door frames, you can cut the bottom of the frame slightly and slide the plank underneath.
Step 7: Finish the Last Row
When you get to the last row, you’ll probably need to cut the planks lengthwise.
- Measure the gap between the last full row and the wall.
- Subtract the expansion space.
- Cut planks to fit.
- Use the pull bar to click the final planks into place tightly.
Step 8: Add the Final Touches
Now you can make your room look complete.
- Remove the spacers from the walls.
- Reattach baseboards and trims.
- Install threshold strips in doorways.
- Fill any small gaps with color-matched caulk.
- Clean the floor with a soft, dry cloth.
Step 9: Keep Your Floor Looking New
After you install laminate flooring, protect it by using the right cleaning methods:
- Sweep or vacuum regularly to remove dirt and dust.
- Wipe spills immediately with a dry or damp cloth.
- Use felt pads under furniture legs to prevent scratches.
- Keep pet nails trimmed.
- Never use excessive water when cleaning.
Read more - Types of Cement Blocks
Conclusion
Installing laminate flooring is one of the most essential home improvement projects you can do. It’s affordable, looks great, and gives you a real sense of accomplishment. When you choose to install laminate flooring yourself, you save money and create a space that feels brand new. With proper care and precautions, you can install laminates and improve your interiors the right way.
GreenFortune - Your Premium Solution for uPVC Windows and Doors
GreenFortune is your go-to partner for high-quality uPVC windows and doors designed with energy efficiency in mind. They offer lasting durability, comfort, and modern aesthetics to bring style into any home.
Whether you need replacement windows or are considering new construction, GreenFortune provides customized solutions that ensure exceptional value and long-term satisfaction for clients.
Choose GreenFortune today for innovative design and unmatched customer service. Get in touch with us now.

FAQ: Install Laminate Flooring
1. Can I install laminate flooring over tile or wood?
Yes, you can install laminate flooring over tile, hardwood, or vinyl as long as the surface is clean, dry, and level.
2. Do I need underlayment?
If your laminate planks don’t have attached underlayment, then yes, it’s important for comfort and moisture protection.
3. Can I install laminate flooring in bathrooms?
Only if the product is labeled water-resistant or waterproof. Bathrooms have high moisture levels, so choose wisely and seal the edges properly.
4. What if my subfloor is uneven?
Small dips or bumps (under 3 mm) can be corrected with underlayment. Larger problems may require leveling compound.
5. How long does it take to install laminate flooring?
An average-sized room can take one to two days, depending on your pace, the room layout, and your experience level.