


Plywood Beds: The Perfect Blend of Style, Durability, and Affordability
April 11, 2025
Ashlar Chamfered vs. Ashlar Fine Masonry: Key Differences and Uses
April 11, 2025
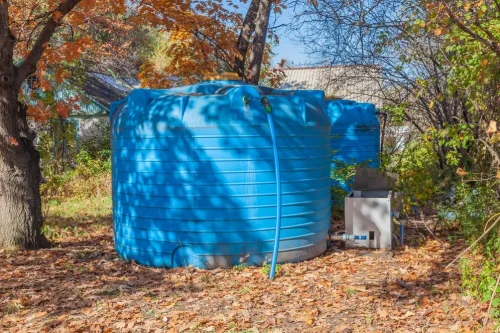
Do you notice a bad smell in your tap water? Or does it look a bit brown or reddish? If it seems murky or has floating particles, it’s high time for your water tank servicing.
Dirt, insects, algae and bacteria build up inside the tank over time, contaminating the water, making it unsafe for us- whether it’s drinking, cooking or bathing. So, let’s find out how to clean a water storage tank properly and keep your water safe in this blog.
How To Clean Water Storage Tanks?
If professional water tank servicing is not available, do not worry. You can easily do it yourself by following the steps given below. If not, at least you will have an idea of how it’s done.
Also read: Everything You Need To Know About Rainwater Harvesting
Step #1: Drain The Tank Completely
- Start by turning off the water supply.
- Next, using the drain valve, empty the tank.
- If there’s water left at the bottom, use a bucket to remove it.
- If your tank doesn’t have a drain valve, use a pump to take out the water.
Step #2: Remove Sediments And Sludge
- Once the tank is empty, you can see a layer of dirt, slime, and algae at the bottom and on the walls.
- Make sure to wear gloves and a mask, and keep a bucket of warm water mixed with detergent ready.
- Next, spray the detergent mix all over the tank and use a long-handled brush or a mop to scrub the walls and floor.
- If the grime is stubborn and doesn’t go with detergent water, use a mixture of baking soda and water to extract it.
Step #3: Scrub With Cleaning Solution
- Take a tank cleaner or household bleach. The recommended ratio is 20 ml of bleach containing around 5% sodium hypochlorite per 1000 litres of clear water.
- Alternatively, you can also use vinegar and baking soda as a cleaning solution.
- Pour the cleaning solution on all the surfaces, including corners, walls, the bottom, and the tank cover. Then start scrubbing.
- Let the solution sit for 30 minutes to kill all the bacteria.
Step #4: Rinse The Tank Thoroughly
- Once you are done with the scrubbing, rinse the tank multiple times with clean water.
- Make sure to leave no residue of cleaning solution behind, especially bleach.
Step #5: Disinfect The Tank
- To ensure there are no contaminants left, disinfect the tank with a mild chlorine solution.
- Start by filling the tank with water. Then add chlorine. The ratio is 50 mg of chlorine for one litre of water. Let it sit for 2 to 4 hours.
- Then, drain the tank and rinse it thoroughly with fresh water.
Step #6: Refill With Clean Water
- Turn on the water supply and let the tank refill with clean water.
- Before using, run the taps for a few minutes to flush out any remaining residue.
Here you have- the 6 steps on how to water tank cleaning. Though water tank servicing is recommended, you can also do it on your own when there’s no other option.
Also read: How To Stop Water Leakage From Wall?
How To Clean Water In Water Tank?
If your tank is clean, don’t assume that everything’s okay. There are chances that the water inside can be contaminated.
To clean the water in the water tank,
- Use chlorine or iodine water purification tablets. This helps kill bacteria and keep the water clean.
- Install a UV water purifier inside the tank. It kills germs and filters only good water for your home’s supply.
- Do water quality tests regularly. Get a TDS meter to check for any impurities and ensure the water is safe to drink.
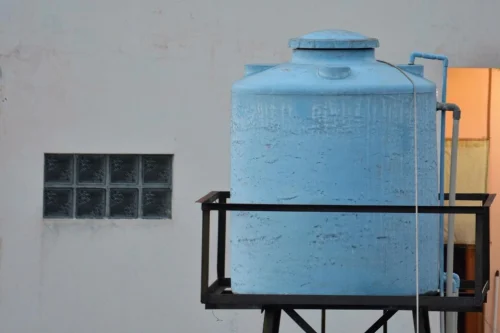
- Keep the tank covered. This helps prevent dust, insects and other pollutants from contaminating the water. Tight-fitting covers are recommended.
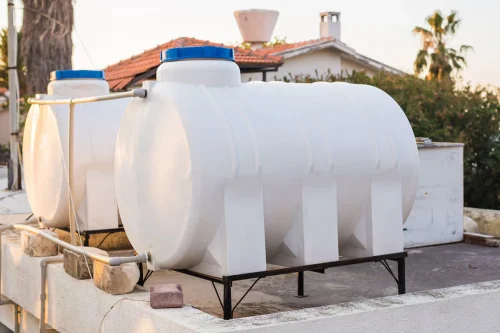
Why Is Water Tank Servicing Important?
The contaminants in your tank can mix with the water, leading to serious health risks like stomach infections, skin allergies, etc. So, if you think of waiting for some issue to happen to clean your tank, you are making a grave mistake.
Regular water tank cleaning
- Prevents bacteria and algae buildup
- Ensures safe drinking and bathing water with no foul smell
- Extends the lifespan of your tank by preventing corrosion and damage
- Avoids plumbing issues caused by sand, dust and rust particles buildup
How Often Should You Do Water Tank Servicing?
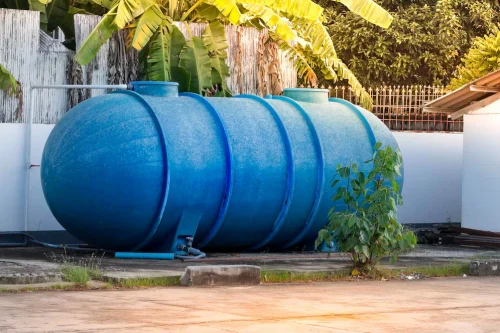
- If yours is a plastic tank, you have to clean it every 3 to 6 months.
- If it is a concrete tank, at least once a year.
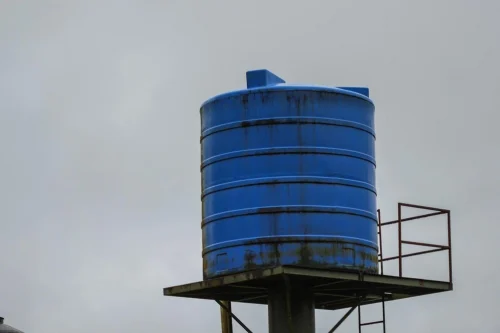
- If it’s an underground tank, cleaning it every six months is mandatory, as it can collect more dirt and bacteria.

Final Takeaway
Whether you are doing it yourself or hiring a professional, regular water tank servicing is recommended to maintain clean and safe water in your home. It is because tank cleaning is not about maintenance and it’s more about your health. So, stay informed.
Just like keeping your water tank clean, choosing the right windows and doors for your home matters, too. At GreenFortune, we offer high-quality uPVC windows and doors that are durable, energy-efficient, and easy to maintain. Our products keep your home safe, secure, and comfortable.
FAQs
1). What happens if the water tank is not cleaned for years?
When the water tank is not cleaned for years, dirt, bacteria, and algae build up, making water unsafe to use. The water will smell bad, there will be discoloration, and you will start getting health issues like stomach infections and skin allergies.
2). Can I use normal soap to clean my water tank?
No. Soap usually leaves a residue that can contaminate drinking water. It is suggested to use bleach, baking soda, or vinegar for safe cleaning. Make sure to rinse thoroughly to remove any leftover cleaning solution.
3). How can I stop algae from growing in my water tank?
Make sure to keep your tank covered to block sunlight, as algae grow in light. Also, clean your tank every six months and use a UV filter to kill algae before they spread.