
9 Minimalist Glass Door Trends in India: Complete Guide For Modern Homes
November 18, 2025
Top 10 Premium Door Hardware Trends to Watch in 2026
November 19, 2025
If your brand-new uPVC window is leaking during rain, it is not the product’s fault, but the installation. Even the highest-quality uPVC windows won’t perform as promised if they are not fitted correctly. Gaps, misalignment, or poor sealing can lead to water leaks, rattling sounds, and energy loss.
When installed properly, uPVC windows can last for decades, offering insulation, security, and comfort in every season. In this blog, we will guide you through the complete uPVC window installation process, from preparation to installation and finishing.
Also read: What are the benefits of installing energy-efficient windows for your home?
The Complete uPVC Window Fitting Guide
Here is a step-by-step uPVC window installation process.
Step 1: Preparation and site readiness
Before the uPVC window installation process starts, the site must be fully prepared.
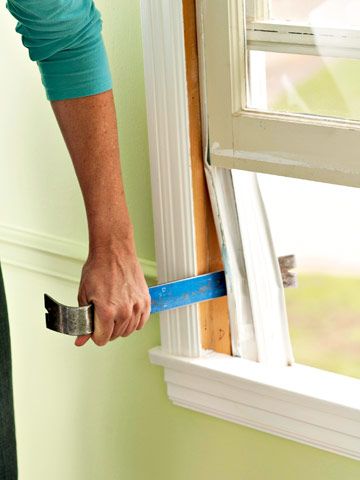
- Remove the old frames: Carefully remove all old wood, aluminium, or damaged frames to avoid chipping the wall.
- Clean the opening: Clean the debris, old sealants, and loose mortar to get a smooth surface.
- Measure accurately: Measure the opening precisely, leaving a small expansion gap of usually 5 to 10 mm on all sides. This allows the frame to expand or contract with temperature changes.
- Prepare the new frame: Attach the sill and end caps to the new frame before it goes into the wall opening. Some frames come with slightly oversized sills, so trim them accordingly to fit the wall depth.
Step 2: Frame placement and fixing
Once the area is ready, the frame goes into the opening. This step is all about accuracy and balance.
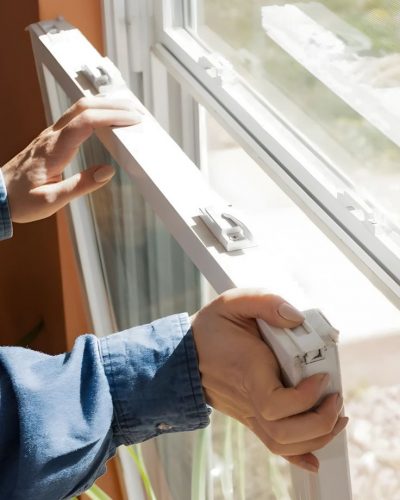
- Position the frame: The uPVC frame should be placed centrally within the opening, ensuring even spacing on all sides. Installers use plastic packers to maintain that expansion gap.
- Check level and alignment: Using a spirit level, confirm that the frame is perfectly square, level, and plumb.
- Fix the frame: Drill holes through the innersides of the frame and secure it with appropriate stainless-steel screws or anchors.
Step 3: Sealing and insulation
Sealing is what makes uPVC windows truly weatherproof.
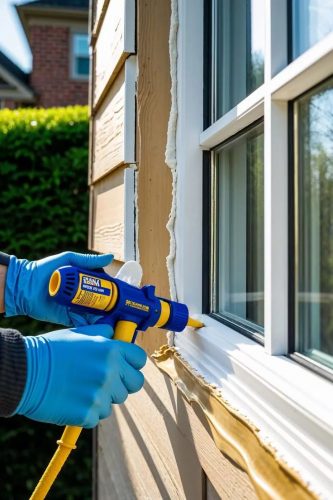
- Apply foam or sealant: After the frame is fixed, fill the gap between the wall and the frame with low-expansion foam or neutral-cure silicone sealant. This stops water and air leaks.
- Trim excess foam: Once the foam sets, neatly trim any overflow with a knife.
- Seal internally: Add a thin layer of silicone on the inner edges for extra airtightness.
Step 4: Glazing and beading
Placing the glass is the most delicate part.
- Remove glazing beads: Remove the internal glazing beads from the frame.
- Position the glass: Place the glass panes carefully inside the frame, supported by glazing packers that keep the pane square and stable.
- Refit the beads: Tap back the glazing beads into position using a rubber mallet, and secure the glass firmly.
To prevent the glass from rattling or cracking later, make sure the glass rests on glazing packers and doesn’t touch the frame directly.
Also read: Which uPVC window style suits your bathrooms best?
Step 5: Finishing and final sealing
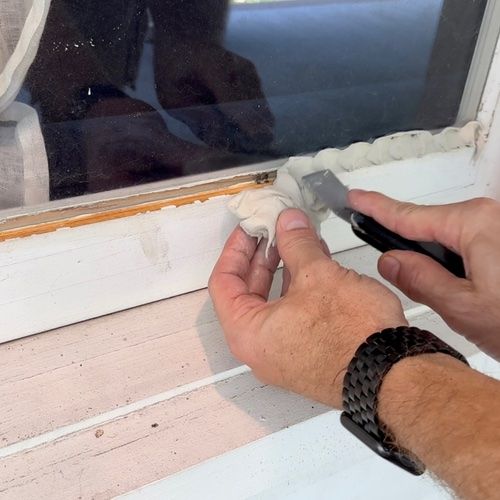
- Apply a layer of silicone around the outer edge of the frame to keep the rainwater from entering.
- Once the sealant is dry, decorative trims or corner covers are fixed to conceal any joints or gaps.
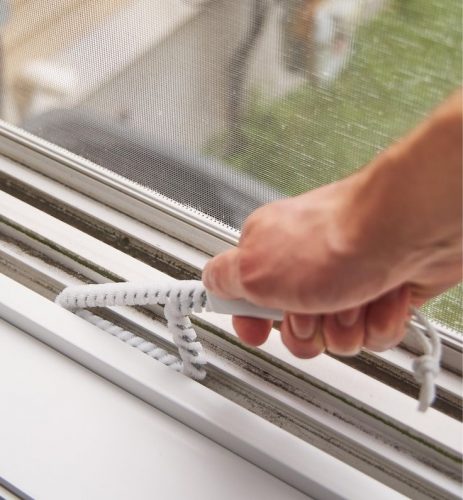
- Clean any leftover debris, dust, or packaging materials. Wipe down the frame and glass thoroughly to remove fingerprints, adhesive marks, or sealant smudges.
Step 6: Final testing and inspection
Once everything looks perfect, one last inspection ensures everything works perfectly, too.
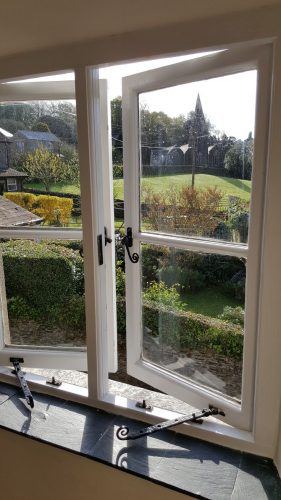
- Open and close the window to ensure it operates smoothly and locks properly.
- Check if the locks, handles, and hinges are functioning properly.
- Look for any visible gaps, cracks, or misalignment.
- Pour a small amount of water near the sill to see if it drains out properly.
So, here you have the uPVC window installation process. Here’s a quick installation check guide given below for your easy reference.
uPVC Installation Checklist
|
Now let’s explore how to maintain your uPVC windows after installation.
uPVC Windows Maintenance After Installation
Once your uPVC windows are installed, keeping them in good condition is important.
- Clean frames using mild soap and water every few months.
- Lubricate hinges and handles twice a year for smooth movement.
- Check external seals annually, especially after the monsoon.
- Do not hang heavy curtains or rods directly on the frame; this can cause pressure on the hinges.
If you ever notice moisture or fogging inside the glass panes, it means that the glazing seal might have failed, and it requires professional inspection.
Final Takeaway
A proper uPVC window installation process ensures your windows last longer, perform efficiently, and stay airtight through every season. While professionals handle the technical part, understanding how it is done helps you assess the quality of work and know what to expect at every stage.
Professional uPVC window installers
When it comes to the uPVC window installation process, the real difference lies in precision and expertise, and that’s where GreenFortune stands out.
At GreenFortune, every installation follows a detailed checklist, from accurate measurements and airtight sealing to smooth finishing. And the best part, there’s no separate uPVC windows cost for installation if you buy the frames from us.
Our trained professionals use advanced tools and high-quality fittings to ensure perfect alignment, long-lasting durability, and zero air or water leakage.
You might also be interested: 20 most asked questions on Google related to windows and doors!

FAQs
1) How long does it take to install a uPVC window?
On average, installing one standard uPVC window takes about 45 minutes to 1.5 hours, depending on the window size and site conditions. Larger units like French windows or sliding doors may take longer.
2) Can you install uPVC windows by yourself?
It is possible to install uPVC windows by yourself, but it is not recommended. It is because the process requires exact measurements, professional tools, and correct sealing methods to prevent gaps, water leakage or misalignment, which only professional installers can do.
3) How to tell if a uPVC window is installed incorrectly?
If you notice gaps between the frame and wall, difficulty in opening or closing the sashes, water leakage or drafts around edges, and visible cracks in the sealant or frame misalignment, the uPVC windows are not installed correctly.
uPVC window installation process